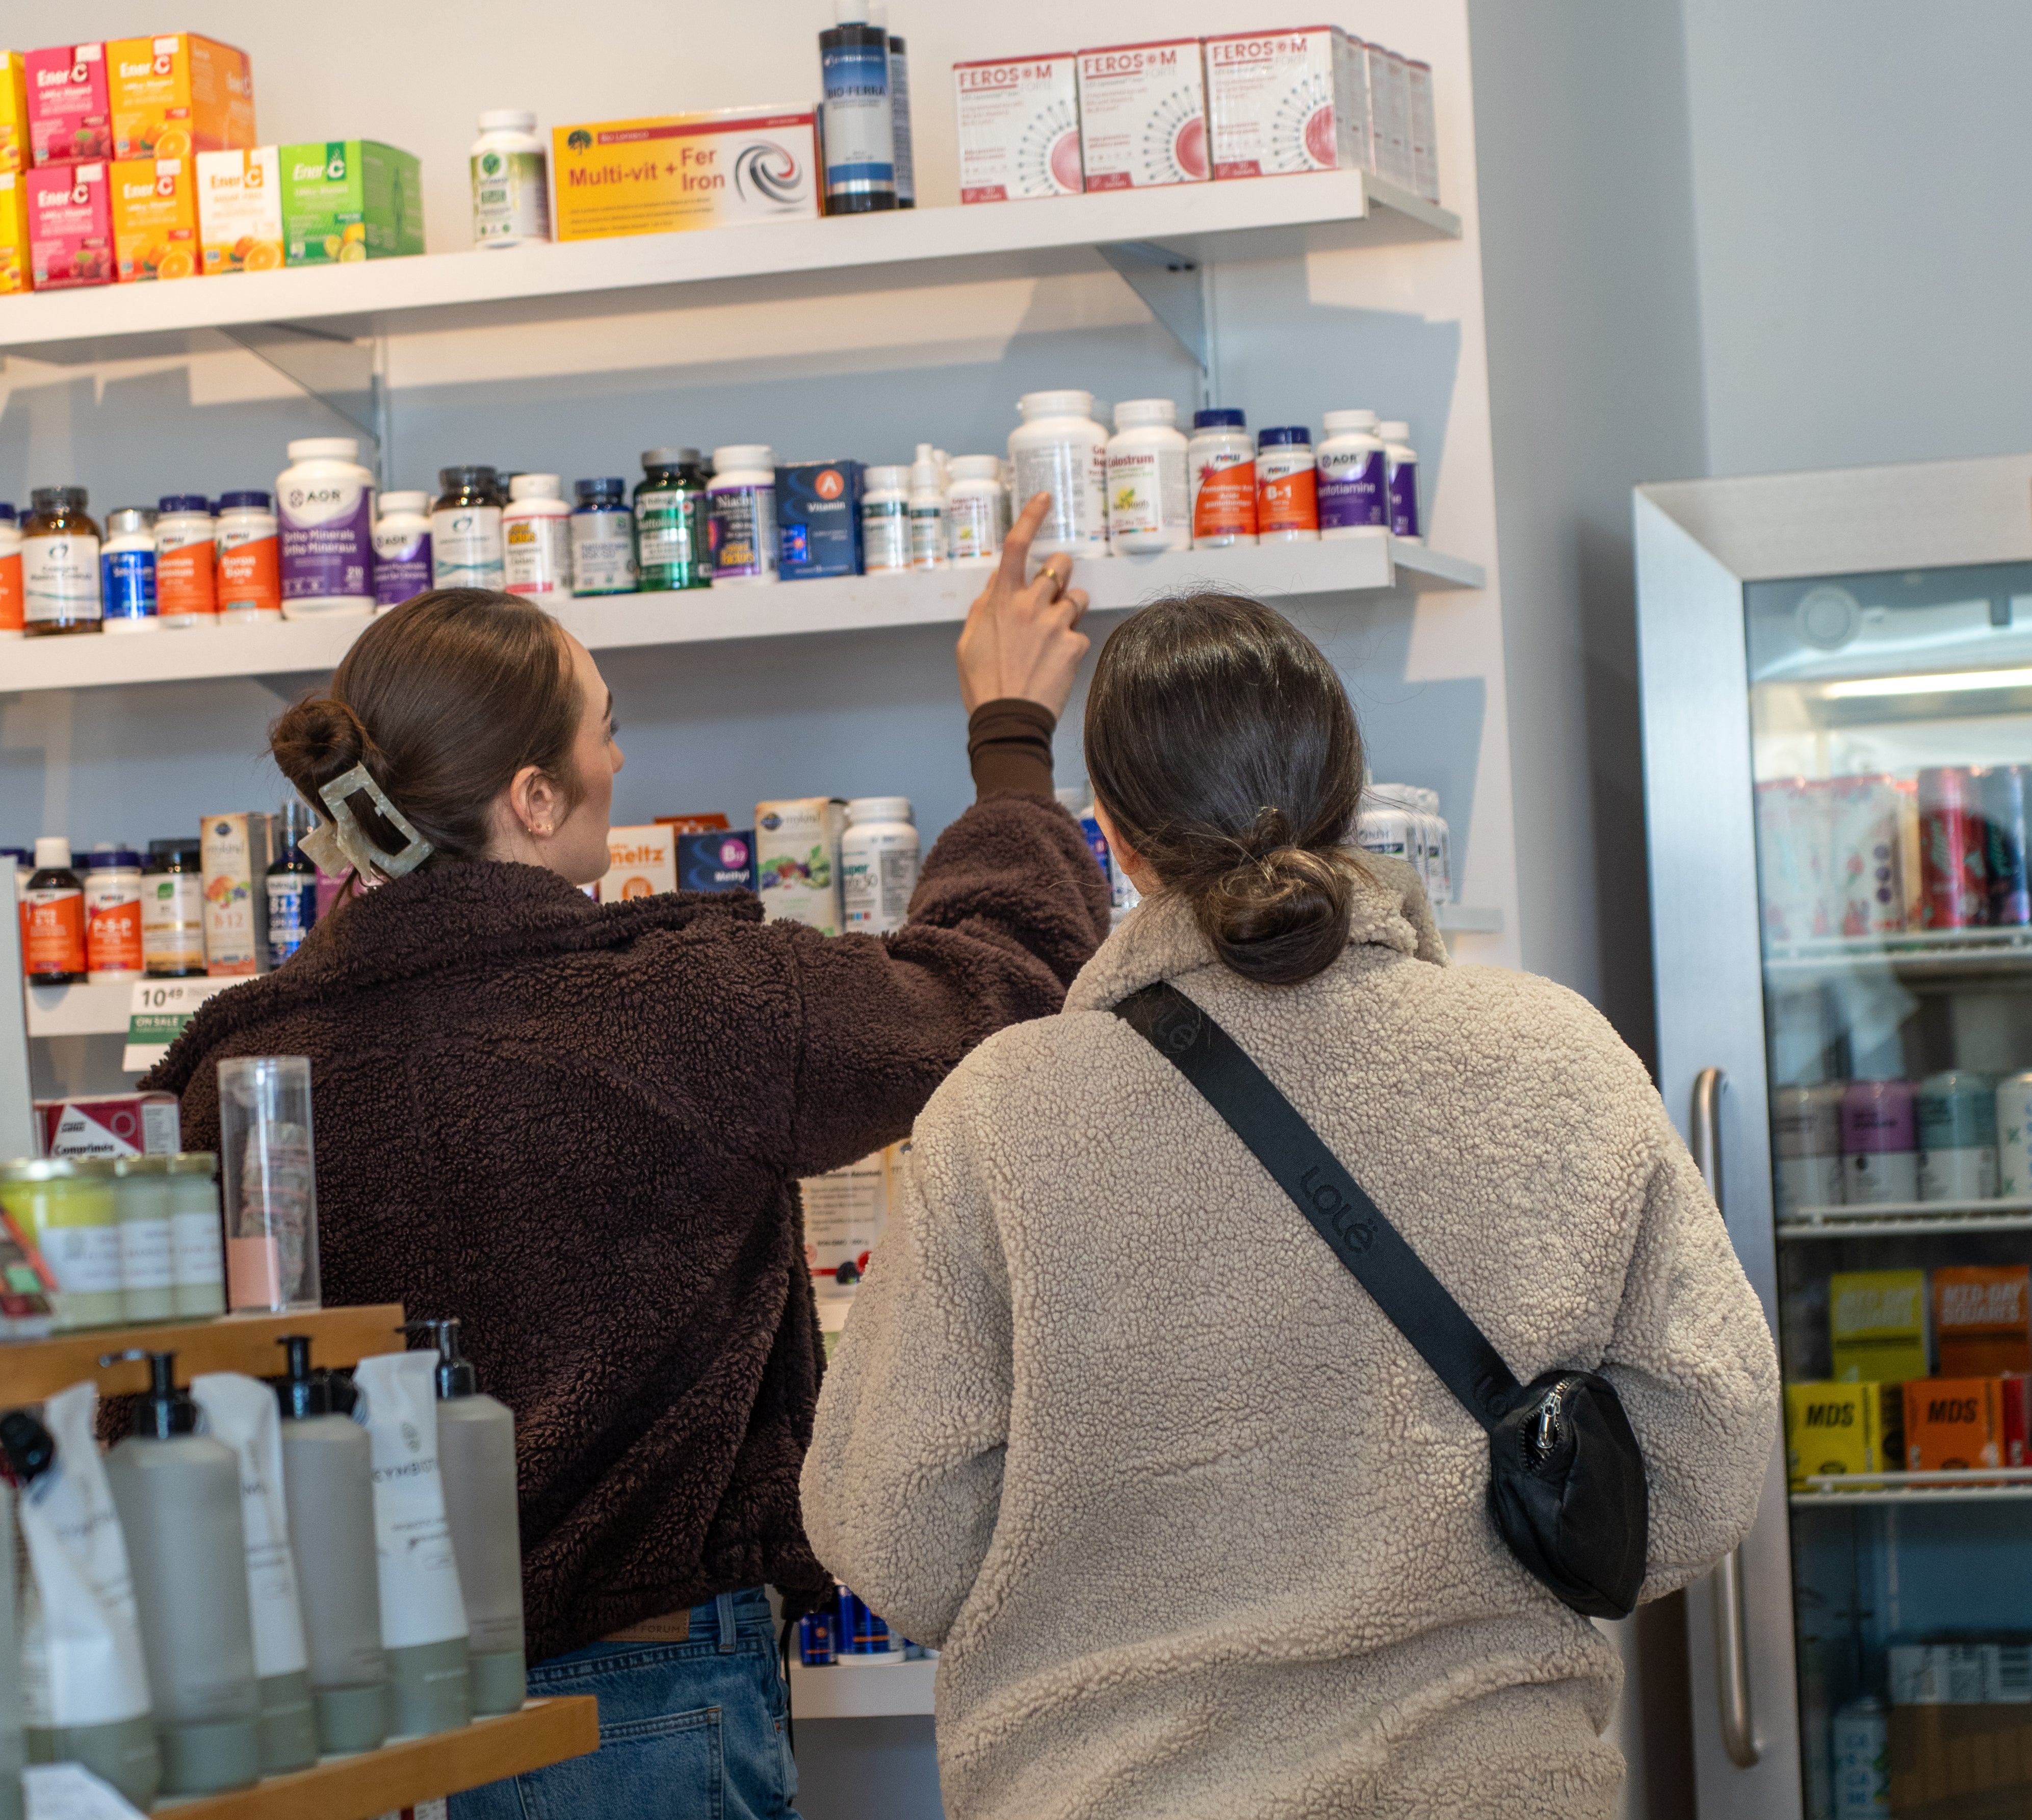

In the realm of natural wonders, there exists a superfood that has been revered for centuries across cultures and continents. Enter sea moss – a humble yet potent seaweed that holds a long list of health benefits for everyone!
The Origins of Sea Moss:
Sea moss, scientifically known as Chondrus crispus, is a species of red algae that grows abundantly along the rocky shores of the Atlantic Ocean, particularly in regions such as Ireland, Scotland, and the Caribbean. For generations, coastal communities have harvested this nutrient-rich seaweed for both its medicinal and culinary properties.
Nutritional Powerhouse
What sets sea moss apart is its impressive nutritional profile. Bursting with vitamins, minerals, and trace elements, sea moss has 92 of the 102 essential amino acids that your body needs. It's rich in iodine, essential for thyroid health, and boasts an abundance of potassium, calcium, magnesium, and vitamins A, C, and E. Additionally, sea moss contains taurine, an amino acid usually lacking in vegan diets. In fact, sea moss is also a great source of vegan collagen as it contains citrulline-arginine which synthesizes collagen to help give you healthy hair and skin.
Health Benefits
The health benefits of sea moss are as vast as the ocean itself. Seaweeds are rich in iodine, a micronutrient necessary for healthy thyroid function. A well supported thyroid produces the crucial hormones that control your metabolism. Coupled with it's high fibre and prebiotic content, that can help you feel full and prevent overeating, sea moss may also contribute to improved gut health and weight loss.
Sea moss is full of phytochemicals which provide an improved immune response and can help your body reduce the amount of mucus. Its antioxidant properties help combat inflammation and oxidative stress, making it a valuable ally in bolstering the immune system and promoting overall well-being. While its rich mineral profile promotes bone health and electrolyte balance, some studies have also found that seaweed reduces LDL (bad) cholesterol and acts as a blood thinner which may help reduce the risk of heart disease.
Like we said, sea moss can be a great addition to just about anyone's supplement routine!
Types of Sea Moss
While all sea moss contains the same beneficial qualities and can be utilized in similar ways, some colour variations contain phytonutrients that offer unique benefits.
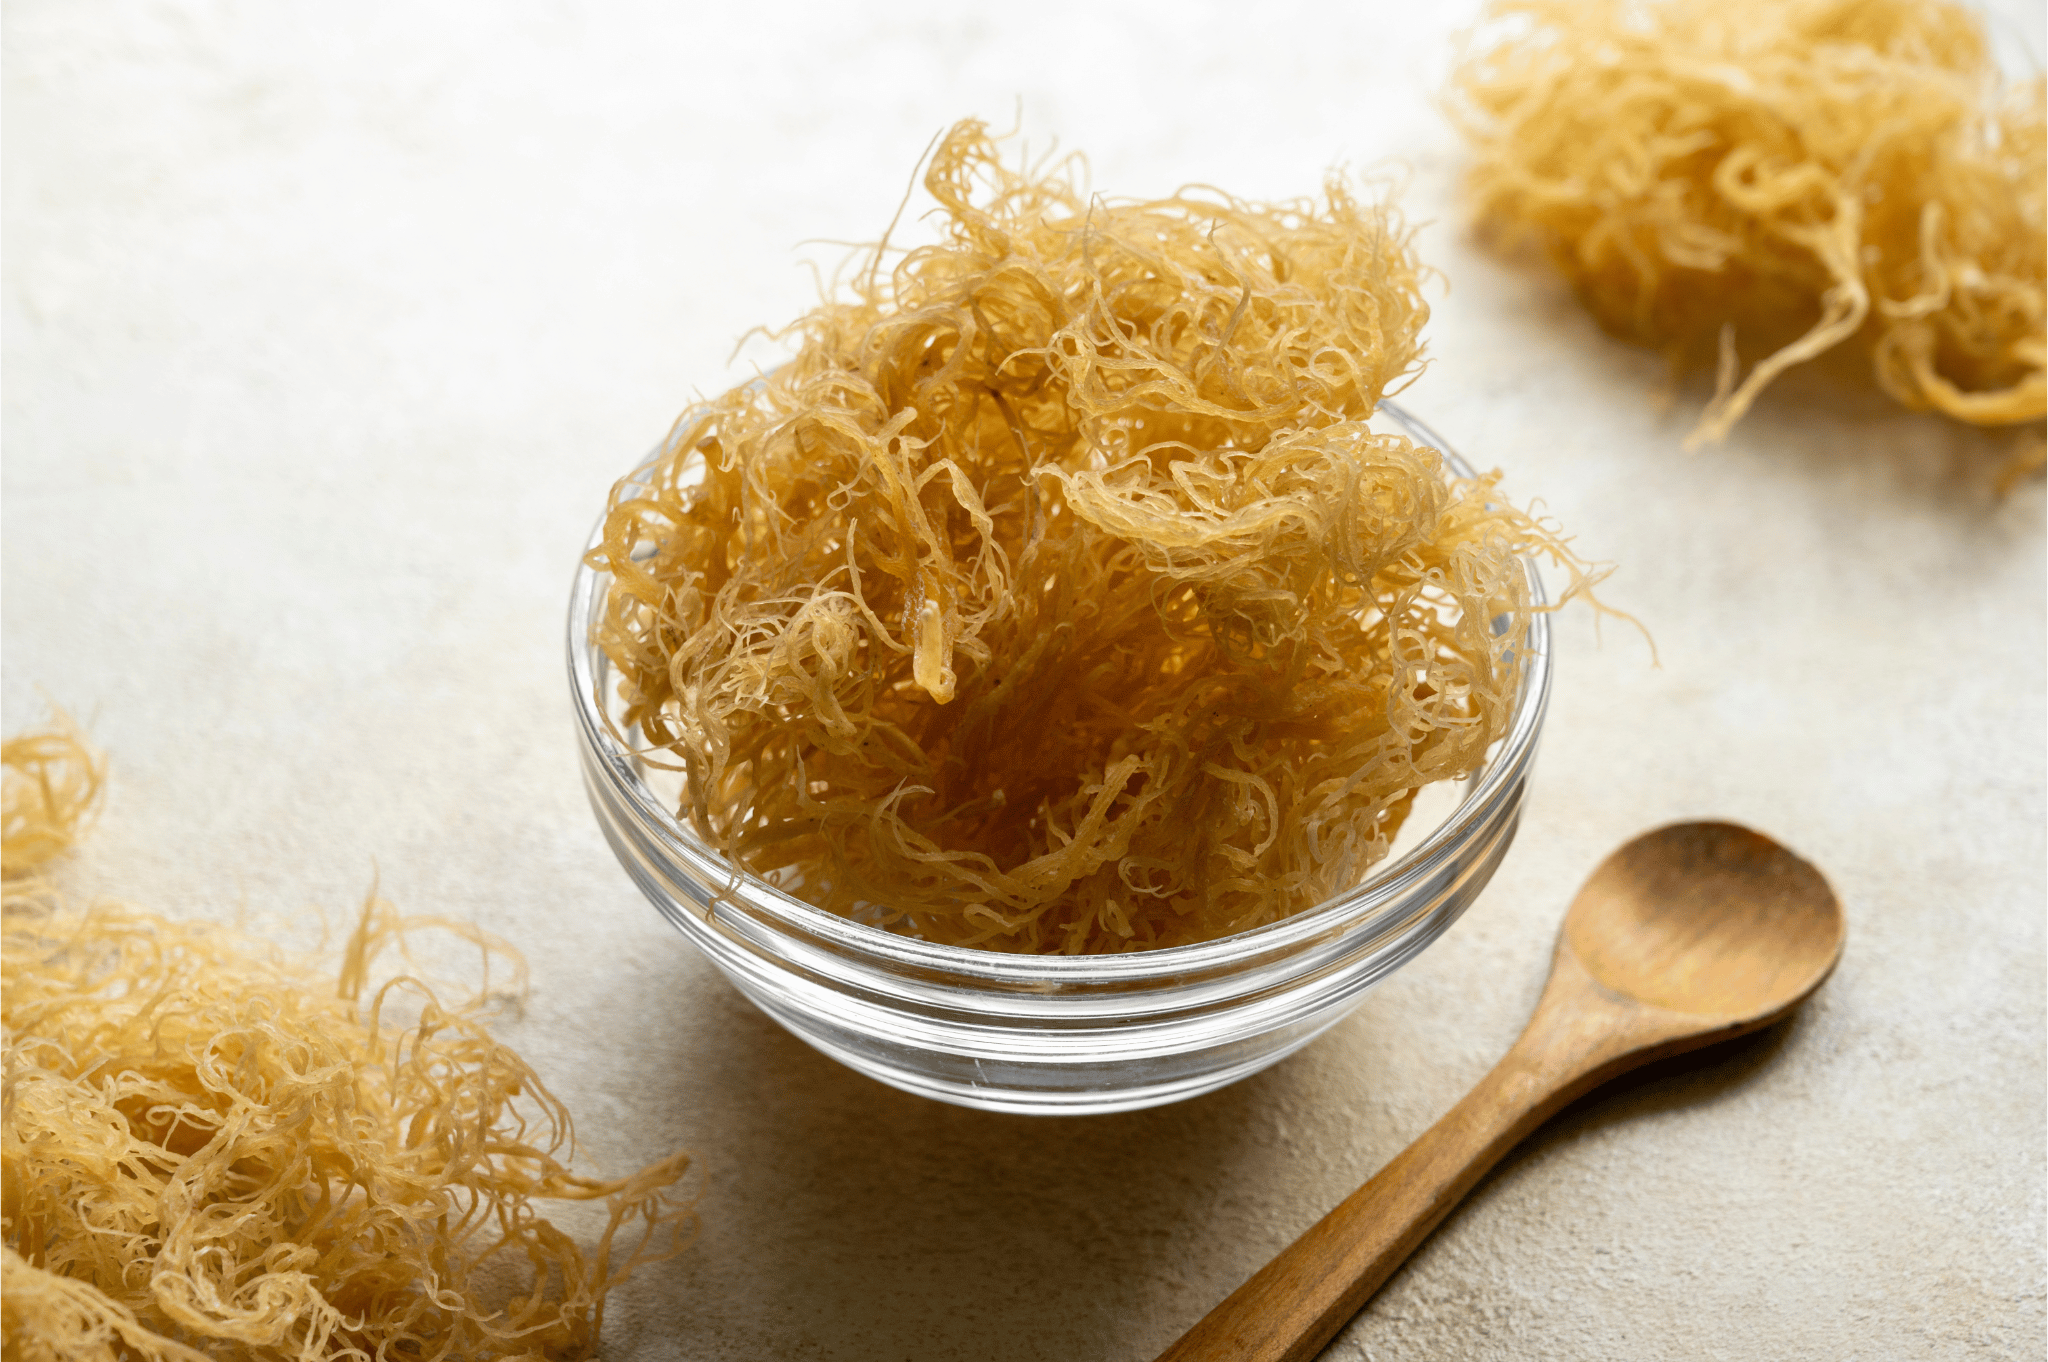
Gold sea moss stands out as the most common variety and is the only colour that is sun-dried. It delivers all the well-known benefits of sea moss, yet it tends to have a minimal scent and taste compared to its counterparts.

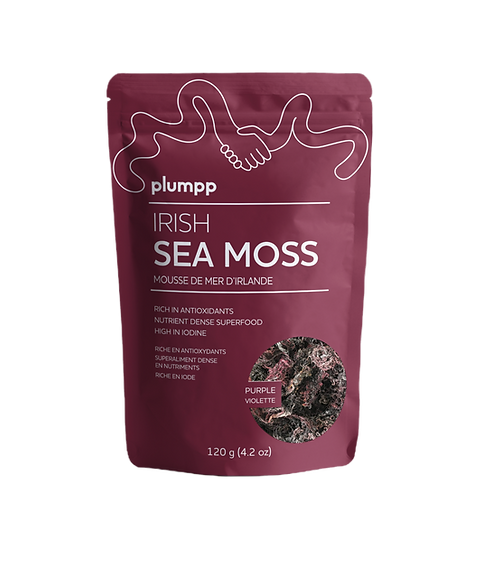
Purple sea moss, on the other hand, delivers potent antioxidants known as anthocyanins, typically found in blue and purple-hued fruits and vegetables. Anthocyanins are associated with various health advantages including improved bone strength, heart health, and reduced inflammation. This type of sea moss is relatively rare and is dried in dark environments to preserve its distinctive colour.
How to Make the Gel
Let’s start with the most basic recipe using Plumpp Irish Sea Moss
- RINSE
- Rinse the sea moss and remove any undesired floaters
- TIP → Be sure to use filtered, spring or alkaline water!
- SOAK
- Place rinsed sea moss in a large bowl and submerge in water
- Cover in the bowl and let it soak for 12-24 hours.
- STRAIN
- Place a bowl under a strainer to collect the water the sea moss had been soaking in.
- You can leave it in the sea moss state or prepare a sea moss gel!
- BLEND
- To make a gel, add the sea moss to a high-powered blender along with 2-5 cups of water.
- Blend until it is a smooth consistency.
- STORE
- Transfer the sea moss into an airtight container and refrigerate.
- Wait until the moss has thickens!
- EAT
- Sea moss can easily be added to all kinds of drinks, smoothies, yogurt, and dressings.
Recipes
Let's be honest… Sea moss is not the most inviting thing to eat for some people, but that won’t stop us! It’s time to be creative!
Sea Moss and Elderberry Syrup Gummies
Remember that Elderberry Syrup you made? You’re going to want to add it to this recipe!
INGREDIENTS
- ⅔ cup of Kaila’s DIY Elderberry Syrup
- ½ cup of honey (optional)
- ¼ apple juice
- 1 lemon, juiced
- 3 tbsp sea moss gel
- 4 packets grass-fed gelatin (about 1 oz)
- Gummy molds
INSTRUCTIONS
- In a medium-sized bowl, whisk together the apple juice, elderberry syrup, and lemon.
- Pour half of the mixture into a medium-sized saucepan and add the honey.
- Place over medium heat to bring to a simmer.
- While that is cooking – whisk the sea moss and gelatin into the medium-sized bowl with the remaining elderberry/juice mixture.
- Once the mixture on the stovetop is simmering, remove from the heat and slowly whisk into the medium-sized bowl with the other half of the mixture mixed with the gelatin and sea moss.
- Once everything is combined and dissolved, use a dropper to fill your gummy molds.
- Place in the fridge to set for at least two hours.
- Carefully remove from the molds and enjoy!
If you want to keep it simple you could make:
Fruit Infused Sea Moss
Essentially you follow this basic recipe again:
- RINSE
- Rinse the sea moss and remove any undesired floaters
- TIP → Be sure to use filtered, spring or alkaline water!
- SOAK
- Place rinsed sea moss in a large bowl and submerged in water
- Cover in the bowl and let it soak for 12-24 hours.
- STRAIN
- Place a bowl under a strainer to collect the water the sea moss had been soaking in.
- You can leave it in the sea moss state or prepare a sea moss gel!
- BLEND
- To make a gel, add the sea moss to a high-powered blender along with 2-5 cups of water.
- Blend until it is a smooth consistency.
- STORE
- Transfer the sea moss into an airtight container and refrigerate.
- Wait until the moss has thickens!
- BUT – When you get to the blend step add in your favorite fruits, and blend until it is smooth
- This way you can be adding fruit right into your diet along with the benefits of sea moss – best of both worlds
- Measurements are easy - measure with your heart and your taste buds!
Sea moss has recently gained a lot of popularity online due to its long list of benefits. If you've been thinking of trying it for yourself, head over to the links below and tag us on Instagram when you make your first batch!